This is the start of a series of posts teaching how to create a SaaS webapp using the Python microframework Flask along with Supabase for database management and login (authentication) and Stripe for payment processing. For this first tutorial, I’ll walk you through the creation of my own app, ProsePal.
But before we start, let’s get a few things out of the way way.
What is Flask?
Flask is a web framework written in Python, one of the two major frameworks based on Python, besides Django. Everyone starts with Django, but I think Flask it the better place to start learning.
Django vs Flask
Flask is less opinionated
Django is highly opinionated, which means that is expects things a certain way, which can be great if you are just learning, but also means that it is harder to learn how to do anything differently.
Flask has fewer abstractions
And by fewer I mean, probably none? Meanwhile, much of the heavy lifting is abstracted away in Django. You aren’t really learning anything when using it. Again, great if you are just trying to get something off the ground that works exactly how Django community thinks web apps should work, but less so if you are trying to build your own SaaS from scratch. That’s why I’m recommending that beginners learn Flask, first.
Getting started
I’m going to assume that you have at least some familiarity with Python, have it installed, and know what an IDE is. I’m partial to VSCode myself.
Note: I use Windows 11. Terminal commands will be based on Powershell. This will be the one place you will need to adjust as necessary
Step 1: Create a project directory
I’ll be using a sub-directory of a VSCode folder on my OneDrive. I’ll call the folder ‘supabase-flask’ You can call yours whatever you want, and place it wherever you want. This is the outer container and other than GitHub’s tendency of naming repository’s after the project directory, it doesn’t have any bearing on the project itself.
mkdir supabase-flaskStep 2: enter the directory
cd supabase-flaskStep 3: create a virtual environment
This is another place where it doesn’t really matter what you name things, but by convention, if you place your virtual environment folder in the project folder (interesting article about another way of organizing your Python projects), the convention is to name it .venv
The period is to indicate hidden files and directories in Linux, and in Python is used to name files that won’t be added to version control. You still have to manually add these files and directories to your .gitignore file (which, ironically, is stored in version control), but it’s an easy way to run through when first creating the file. And “venv” stands for “virtual environment” and is the name of the Python module used to create virtual environments.
python -m venv .venv
Step 4: Start the virtual environment
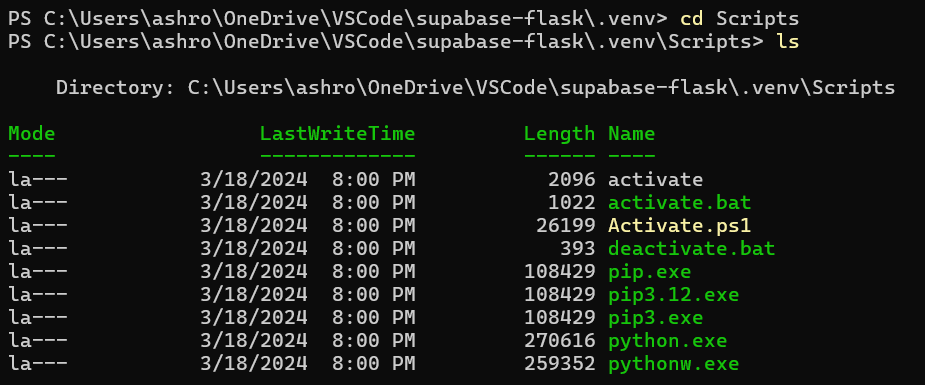
When you create a virtual environment, it creates the folder with three additional folders, ‘Include,’ ‘Lib,’ and ‘Scripts’ as well as a configuration file. The Scripts folder will have activation scripts for various environments, as well as local copies of the Python runtime and pip installer.

Without leaving the project directory, activate the virtual environment with the appropriate script. For Powershell, it’s the ps1 file.
./.venv/Scripts/Activate.ps1Once the virtual environment has been activated, the name of the environment at the beginning of the line will change. In my terminal, PS7, it goes from a white PS (for Powershell) to green (and in this case .venv).

Step 5: Update pip if necessary
At the time of writing this, the most current version of pip is 24.0, and it is packaged with Python 3.12. If you are running an older version of Python, or a significant amount of time has passed, you will want to check. Go to https://pypi.org and search for pip to see what the most current version is. Then in the terminal:
pip show pip
My version is up to date but if yours isn’t, you’ll type
python -m pip install --upgrade pipThat’s it for now. We are already up to nearly 1000 words for this tutorial, and we haven’t even started writing any code yet! But don’t worry. That starts tomorrow when we create configuration classes.

Leave a Reply